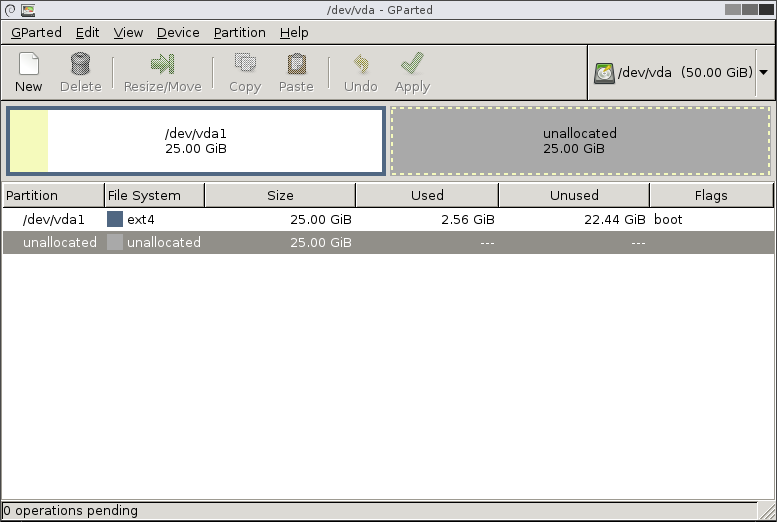
1. If you have a SWAP enabled in your system, you must delete the SWAP before partition resize.  Image Removed Image Removed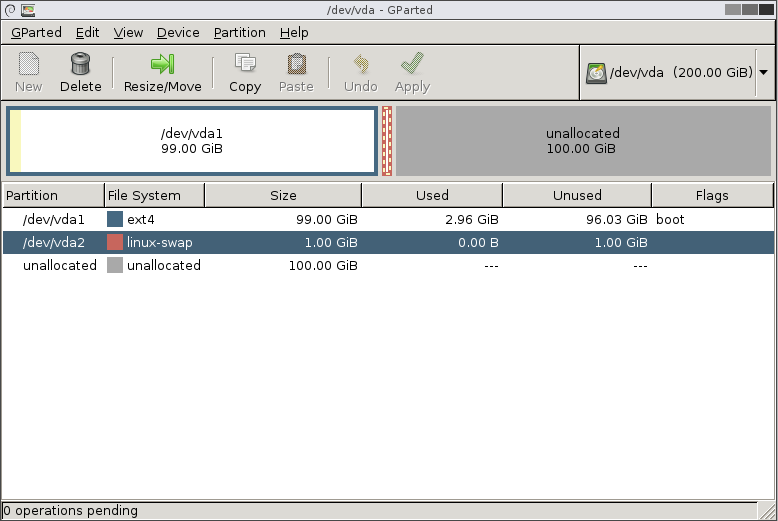 Image Added Image Added
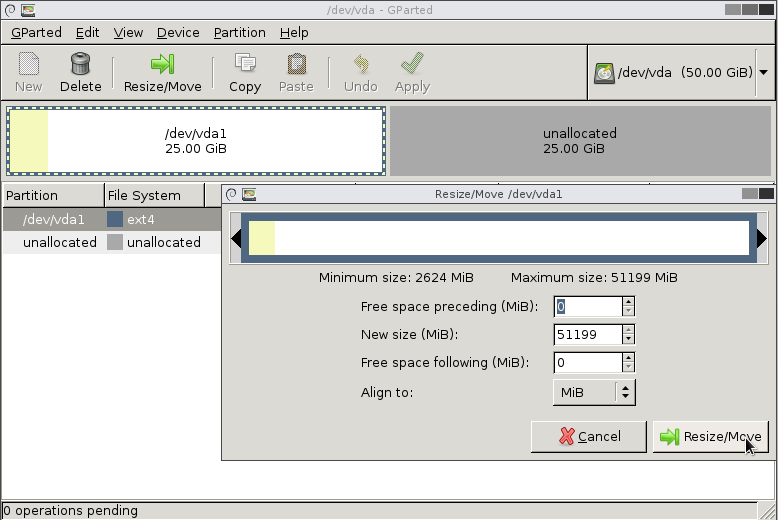
2. After deleting SWAP, click on the Partition tab, choose Resize/Move and adjust the size of the partition, leaving the required amount of disk space for a SWAP partition. Click Apply. Image Removed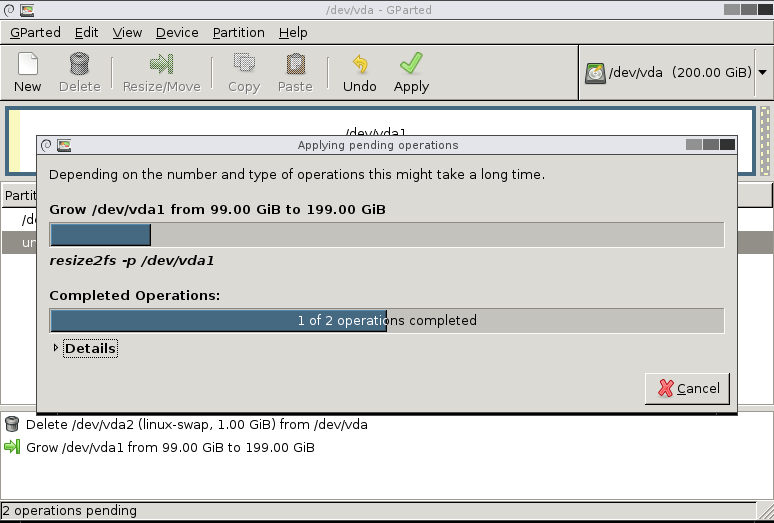 Image Added Image Added
4. Choose an unallocated partition and create a new one by specifying the linux-swap file system. Click Apply. Image Removed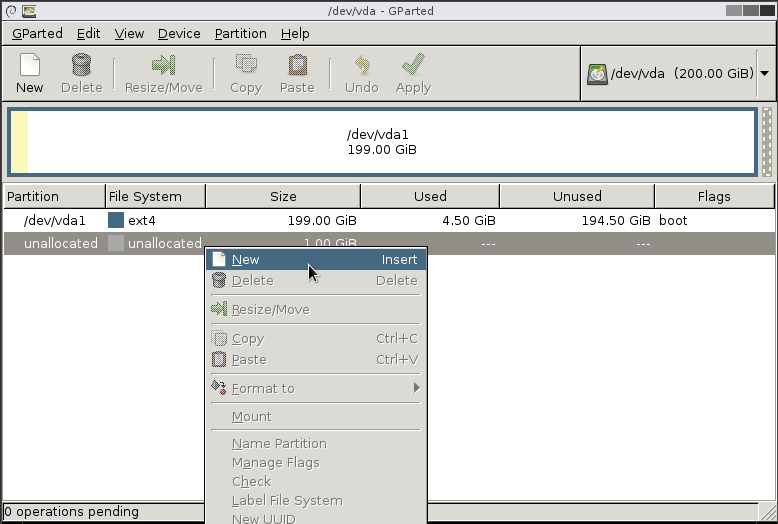 Image Added Image Added
5. Done. Reboot your VPS and do not forget to change Boot Order type to default '(1) Hard Disk (2) CDRom' in your VPS Control Panel. Image Removed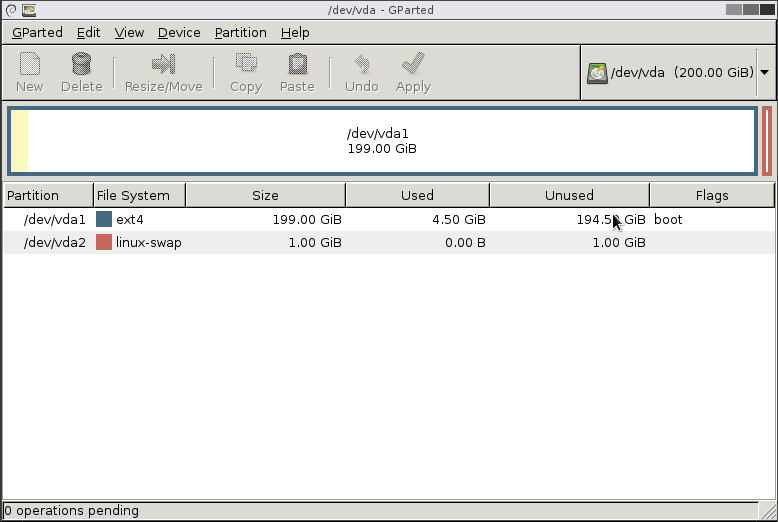 Image Added Image Added
 In case you have more than one partition (i.e. main partition and swap), they will initially be next to each other, which will prevent you from extending the main partition into the unpartitioned space. In this situation all you have to do is to move the last partition(s) to the very end of the unpartitioned space and then extend the main partition to fill the gap In case you have more than one partition (i.e. main partition and swap), they will initially be next to each other, which will prevent you from extending the main partition into the unpartitioned space. In this situation all you have to do is to move the last partition(s) to the very end of the unpartitioned space and then extend the main partition to fill the gap
|